




Painting Trim and Moldings
Painting trim and moldings enhances the overall appearance of a space.
This step remains important during home improvement projects.
However, painters often face challenges when creating clean lines and preventing drips.
Preparing the Surface
- Clean the trim and moldings thoroughly before painting to remove dirt, grease, and dust that could affect adhesion.
- Next, sand the surfaces lightly to create a smooth, even texture for the paint.
- Fill cracks, holes, and imperfections with high-quality wood putty or filler.
- Allow the filler to dry completely before continuing with the painting process.
- Finally, wipe the trim with a damp cloth to remove residual dust.
Selecting Suitable Paint and Tools
- Choose high-quality paint designed specifically for trim and moldings.
- Select a semi-gloss or gloss finish when you want greater durability.
- Consider the room’s color scheme, and test a small area before painting everything.
- Apply primer first to improve adhesion and coverage.
- Tint the primer to match the paint color and strengthen color depth.
- Use quality brushes and rollers for smooth, even application.
- Choose foam brushes for detailed work on trim and moldings.
Applying Paint with Precision
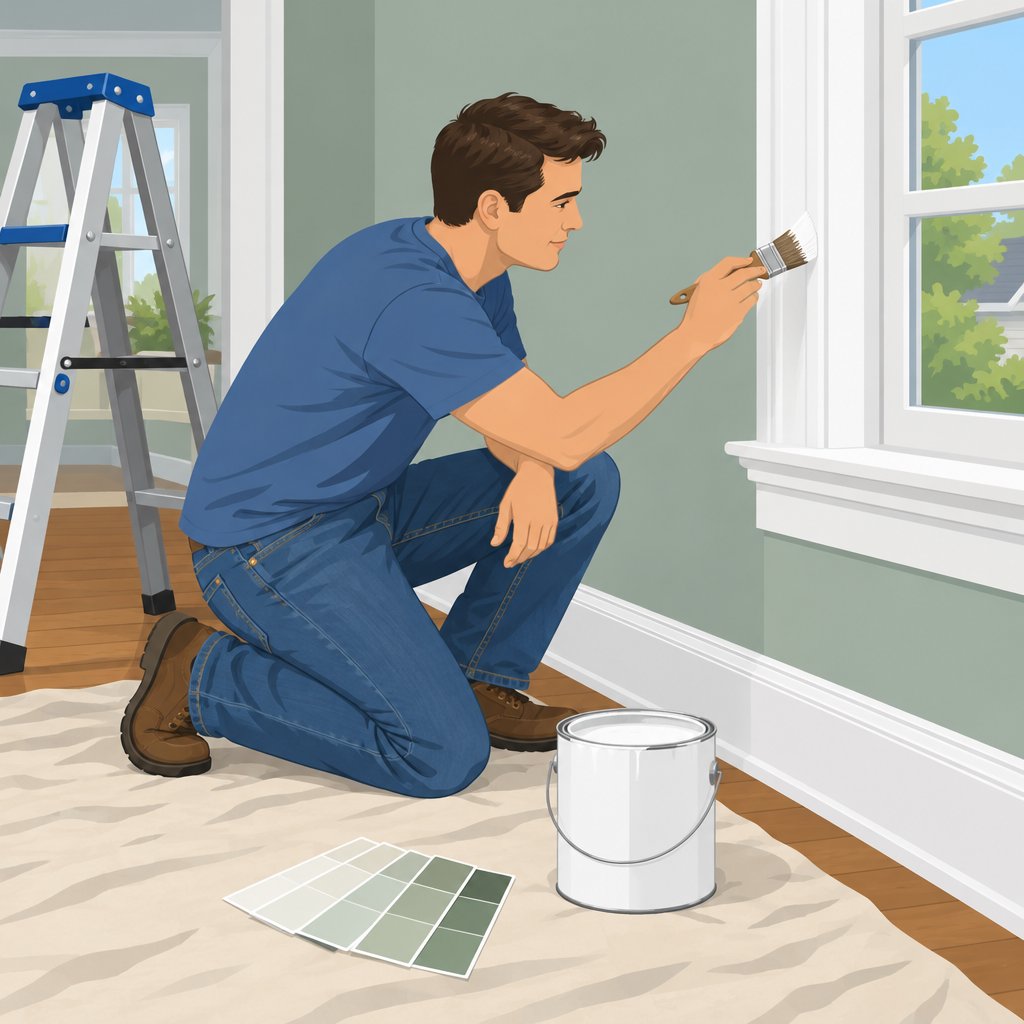
- Begin with the trim edges, using a brush to create clean, precise lines.
- Use long, smooth strokes to achieve a professional-looking finish.
- Work from top to bottom while applying thin layers.
- Thin layers help prevent drips and promote even coverage.
- Let each coat dry completely before applying another layer.
- Sand lightly between coats to smooth any imperfections.
- For intricate moldings, use a small artist brush or foam brush.
Completing the Finishing Details
- After the paint dries completely, inspect the trim for missed spots or imperfections.
- Touch up any areas that need additional paint.
- Remove painter’s tape carefully to reveal clean edges and lines.
- Cut along the tape edge with a sharp utility knife before peeling it away.
- Clean brushes and tools with warm, soapy water or paint thinner.
- Store the cleaned tools properly for future use.
- Admire the newly painted trim and moldings after completing the work.
- Take pride in the finished project and the refreshed appearance it brings.
Selecting the Right Paint
Choosing the right paint helps create a professional-looking finish on trim and moldings.
High-quality paint formulated for trim and moldings offers better performance.
These products can improve adhesion and durability over time.
- Choose high-quality paint formulated specifically for trim and moldings.
- Consider gloss, satin, or matte finishes based on personal preference and room aesthetics.
Paint designed for trim work often includes additives that resist scuffs, scratches, and stains.
When choosing a finish, consider the overall look you want to achieve.
Gloss finishes provide a shiny, reflective surface that remains easy to clean.
However, gloss finishes may highlight imperfections.
Satin finishes provide a subtle sheen that offers easier maintenance and an elegant appearance.
Matte finishes offer a flat, non-reflective appearance that can hide flaws but may lack durability.
Uncover the Details: How to Maintain High Standards in Janitorial Work
Using the Proper Tools
- Invest in good quality brushes and rollers for a smooth finish.
- Use painter’s tape to mask areas and prevent paint from splattering.
When painting trim and moldings, proper tools help you achieve professional results.
Good brushes and rollers can significantly improve your project’s final appearance.
Quality brushes create smooth, even coverage.
High-quality rollers can make painting more efficient and effective.
Painter’s tape protects surrounding surfaces from accidental splatters.
This protection can save time and effort during the project.
Before painting, gather every necessary tool and material.
These supplies include brushes, rollers, painter’s tape, drop cloths, sandpaper, and paint.
Having supplies ready supports a smooth and successful painting experience.
Choose brushes and rollers designed specifically for trim and moldings.
These tools are usually smaller and provide a finer finish for detailed work.
Select synthetic bristles for water-based paints.
Use natural bristles for oil-based paints.
Painter’s tape remains essential when protecting nearby areas.
Apply the tape before painting to shield surfaces from accidental splatters.
Press the tape firmly against the surface to create a tight seal.
This seal helps prevent paint from seeping underneath.
Sandpaper can smooth rough surfaces before painting.
That preparation supports a clean and even finish.
Drop cloths or plastic sheeting can protect floors and furniture from drips and spills.
Proper tools make painting easier and help trim and moldings look polished.
Investing in quality tools rewards careful work with a beautifully painted space.
Explore Further: Health and Safety Tips for Janitors and Custodians
Applying Paint in the Correct Order
- Start with the trim to create clean lines and define the room’s edges.
- Next, paint the moldings to maintain an efficient, orderly process.
- Let each coat dry completely before applying another coat for a smooth finish.
Painting trim first establishes clean lines and defines the room’s edges.
Next, paint the moldings to maintain an efficient, orderly process.
Let each coat dry completely before applying another coat for a smooth finish.
Once the trim dries, continue with the moldings.
Transform Your Career Today
Unlock a personalized career strategy that drives real results. Get tailored advice and a roadmap designed just for you.
Start NowThis sequence helps each element receive focused attention during the project.
Moreover, sufficient drying time prevents smudges and other imperfections.
Working in this order also reduces the risk of drips and uneven coverage.
Because the trim comes first, you can create sharp lines without smudging nearby walls.
Afterward, paint the moldings while the surrounding areas remain protected.
Work methodically and allow every coat to dry before continuing.
That approach creates a smooth finish and helps trim and moldings stand out.
Uncover the Details: Tips for Maintaining a Clean and Organized Home
Attention to Detail During Painting
Careful painting around edges and corners creates a professional finish.
Work patiently to maintain clean lines and consistent coverage.
Also, inspect each area regularly to identify problems early.
- Paint edges and corners carefully for a polished result.
- Check for drips or uneven coverage, then make necessary touch-ups.
Consistent Coverage Across Sections
Work in small sections to maintain consistent coverage across the entire surface.
Start at one end and continue steadily toward the other end.
Blend each section carefully so transitions remain smooth and difficult to notice.
Proper Drying Between Coats
Follow the manufacturer’s instructions for drying times between coats.
Allowing enough drying time supports better adhesion and a cleaner finish.
Rushing between coats can create a sloppy appearance and weaken the finish.
Immediate Correction of Painting Mistakes
Clean mistakes immediately with a damp cloth or sponge.
Prompt cleanup makes corrections easier and helps prevent visible flaws.
Waiting too long can make spilled or misplaced paint harder to remove.
Inspection After Painting
Inspect the finished work closely before the paint dries completely.
Look for missed spots, drips, and areas with uneven coverage.
Make necessary touch-ups while corrections remain straightforward.
These practices help create a polished finish on trim and moldings.
Learn More: Future Trends in the Fishing Industry
Decorative Finishes for Trim and Moldings
Consider contrasting colors to make trim and moldings stand out.
Additionally, decorative finishes can enhance the overall look of trim and moldings.
Together, these touches can personalize your space.
Stencils and Decals for Trim Design
Stencils add unique designs to trim and moldings.
They can create patterns that give your trim a distinctive appearance.
Meanwhile, decals can create patterns or images that make your trim stand out.
Tips for Personalizing Trim and Moldings
Choose colors that complement the room’s overall color scheme.
Also, experiment with different techniques to achieve your desired look.
Do not hesitate to try something bold, new, and creative.
Finally, enjoy using decorative touches to personalize your space.
Painting trim and moldings requires careful timing after the paint application.
Allowing sufficient drying time helps preserve the finish and prevents accidental surface damage.
Regular inspections and maintenance can keep painted trim looking fresh for years.
Drying Between Coats
Follow the manufacturer’s drying instructions before applying another coat.
Proper drying prevents smudging, tackiness, and other surface imperfections.
Transform Your Career Today
Unlock a personalized career strategy that drives real results. Get tailored advice and a roadmap designed just for you.
Start NowKeep people and objects away from freshly painted areas until the paint dries completely.
- Follow the manufacturer’s instructions for drying times between coats.
- Avoid touching or bumping freshly painted surfaces.
- Wait at least 24 hours before reattaching hardware or moving furniture.
Inspecting the Finished Surface
Inspect the trim after the paint dries to identify areas needing attention.
Look for missed spots, drips, or uneven coverage across the finished surface.
Touch up imperfections carefully to maintain a consistent appearance.
- Check the surface for missed spots.
- Remove or correct visible drips.
- Touch up areas with uneven coverage.
Protecting Painted Trim
Gentle cleaning methods help protect the painted finish from unnecessary wear.
Careful handling also reduces the risk of chips, scratches, and peeling.
A clear topcoat or sealer can provide additional protection against wear and tear.
- Avoid harsh cleaning agents that could damage the paint.
- Do not use abrasive tools that might scratch or dull the finish.
- Consider adding a clear topcoat or sealer for added protection.
Maintaining Painted Surfaces
Regular maintenance helps preserve the appearance of painted trim and moldings.
Dust the surfaces regularly to limit the buildup of dirt.
Clean the trim gently and repair small paint damages when they appear.
- Dust the trim and moldings regularly.
- Clean the surfaces gently to maintain their appearance.
- Touch up chips and scratches to keep the paint looking fresh.
Primer and Controlled Application
Primer supports stronger paint adhesion and contributes to a professional-looking finish.
Apply primer before painting the trim and moldings.
This step creates a reliable foundation for subsequent coats.
Steady Painting Methods
Work slowly instead of rushing the painting process.
Use steady strokes to create a smoother finish.
Follow the wood grain to create a natural appearance and reduce drips.
Inspection and Final Touchups
Inspect the trim and moldings after completing the painting.
Touch up any areas that require additional attention.
These final adjustments help create a consistent and polished appearance.
Additional Resources
Bing search results for Best Practices for Painting Trim and Moldings Construction and Manual Labor


