




Introduction
Painting with a roller for even coverage is essential for achieving a professional finish.
Uneven coverage can create visible streaks and patches on the surface.
Smooth and consistent coverage enhances the overall aesthetic appeal.
It also prolongs the painted surface’s lifespan by providing protection against moisture, UV rays, and wear.
With the right technique and tools, you can easily achieve a flawless finish.
This finish will make your painting project stand out.
This blog post guides you through the steps for ensuring even coverage with a paint roller.
Choosing the Right Roller
Roller nap length determines how well the tool covers different surface textures.
Roller materials work best with specific paint types and surface conditions.
Roller size and core construction also affect efficiency, handling, and durability.
- Nap length: Choose short naps for smooth walls and longer naps for textured ceilings.
- Material: Select foam, synthetic, or natural fibers according to the paint and surface.
- Size: Use larger rollers for broad surfaces and smaller rollers for narrow spaces or trim.
- Core type: Choose plastic for easy cleaning, cardboard for economy, or phenolic cores for durability.
Selecting the Appropriate Roller
Match synthetic rollers with latex paints for reliable application.
Use natural fiber or foam rollers with oil-based paints.
Consider the surface texture before choosing the roller nap.
Short nap rollers suit smooth walls, while longer naps improve coverage on textured ceilings.
When uncertain, ask a paint specialist for guidance on the appropriate roller.
A high-quality roller helps prevent fiber shedding and supports a smoother finish.
Investing in a dependable roller can improve the final appearance of the paint job.
A roller can help you achieve a smooth and even paint finish.
However, careful preparation helps the paint adhere properly and reduces visible imperfections.
Follow these preparation steps before painting to create a professional, lasting result.
Surface Preparation for Even Roller Coverage
- Clean the surface thoroughly before painting to remove dust, dirt, and debris.
- Repair cracks, holes, and uneven areas with spackling compound before sanding them smooth.
- Prime the surface to improve paint adhesion and coverage on wood, drywall, or metal.
- Protect trim, windows, and fixtures with painter’s tape to create clean, straight edges.
Additionally, proper preparation helps your paint job look professional and remain attractive for years.
These steps support even coverage and a flawless finish when you use a roller.
Delve into the Subject: Top Tools Used by Agricultural Workers on the Job
Proper Techniques for Painting with a Roller
Use the right roller technique to distribute paint evenly and create a professional-looking finish.
First, prepare the surface before applying any paint.
Keep the surface clean, dry, and free from dust or debris.
Next, apply a high-quality primer to improve adhesion and create a smoother finish.
Then, pour paint into a tray and load the roller evenly.
Fully saturate the roller without allowing it to drip.
Follow these steps to create smooth and even coverage.
- Begin by rolling paint onto the surface in a W pattern.
- Overlap each stroke slightly to blend the paint and prevent lap marks.
- Work in small sections until you cover the entire surface.
- Maintain consistent roller pressure throughout the application.
- Use moderate pressure to limit drips and uneven coverage.
- Keep the roller at a consistent angle while painting.
- Roll in one direction, then roll back across the area to smooth marks.
- Inspect each section for missed spots before the paint dries.
- Touch up uneven areas while the paint remains workable.
- Take breaks when needed to maintain precision and avoid fatigue.
Consistent pressure and angle help the roller apply paint evenly.
Additionally, use these practices during the painting process.
- Maintain good posture and use your legs to support your body weight.
- Roll slowly and evenly to reduce splattering and visible lines.
- Clean the roller between coats to prevent paint buildup.
- Use a paintbrush around edges and corners before rolling larger areas.
- Work in natural light or use a bright lamp to spot imperfections.
These techniques help you achieve even coverage on walls and other surfaces.
Careful application also supports a professional-looking finish.
You Might Also Like: Understanding the Miner's Role in Construction Projects
Benefits of Working in Sections
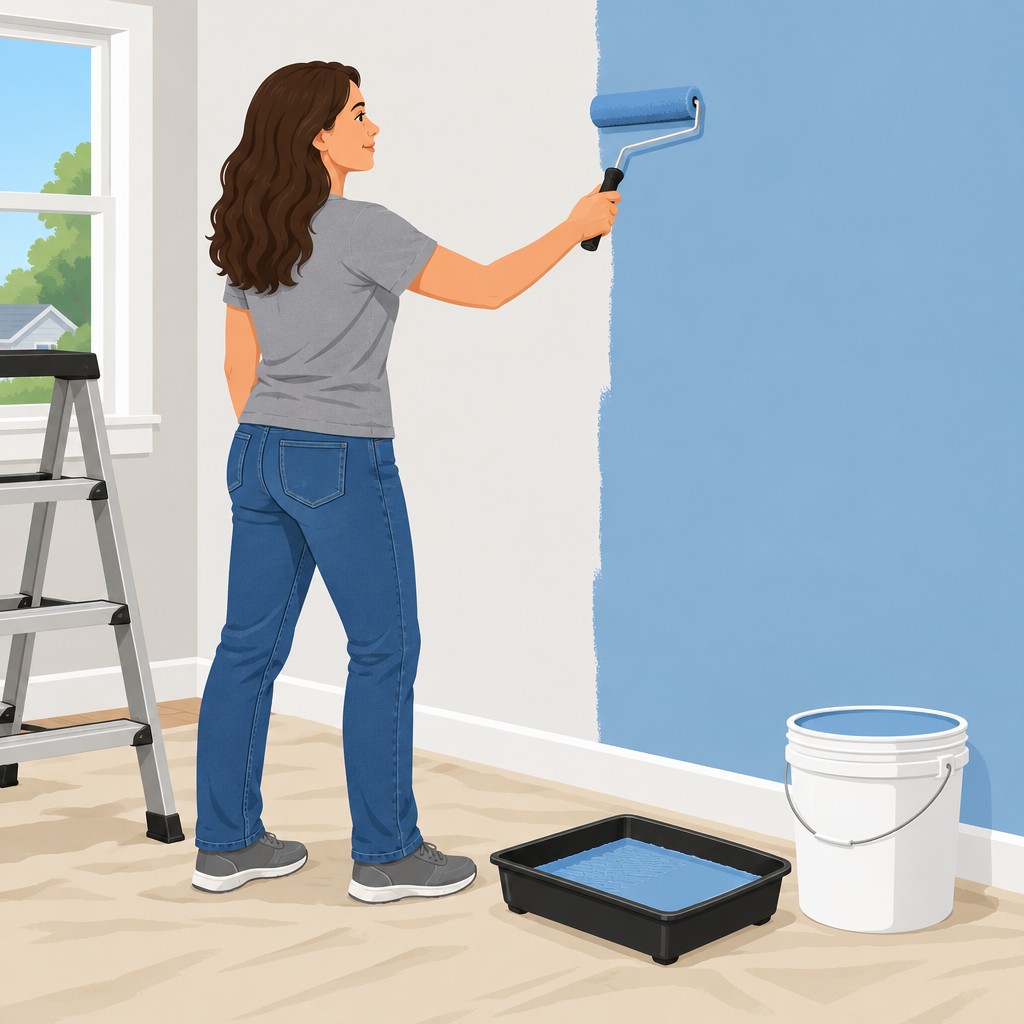
Work in smaller sections when painting with a roller to achieve even coverage.
Smaller sections make the paint easier to control during application.
This approach also supports a smoother, more professional finish.
- Smaller sections make it easier to control the amount of paint applied.
- Working in sections reduces the risk of drips and runs.
- Dividing the area helps ensure precise and even coverage.
Blending Edges for a Seamless Finish
Blend the edges of each section to create a smooth transition.
Begin in the middle of each section, then work toward the edges.
Transform Your Career Today
Unlock a personalized career strategy that drives real results. Get tailored advice and a roadmap designed just for you.
Start NowUse light pressure and overlapping strokes to prevent visible lines.
- Start rolling in the middle of the section and move toward the edges.
- Apply light pressure to blend the edges without creating marks.
- Feather the paint by slightly overlapping each stroke.
- Work quickly to prevent drying and lap marks.
- Step back occasionally to check coverage consistency across the section.
By working in sections and blending edges carefully, you can achieve a professional-looking paint job.
Take your time and follow these techniques for even coverage and a seamless finish.
See Related Content: Daily Duties and Responsibilities of a Janitor/Custodian
Painting with a roller requires multiple coats for even coverage and the best results.
Several thin coats create a smoother finish than one thick coat.
Importance of Applying Multiple Coats
- Multiple coats help create an even and consistent finish.
- Additional coats improve coverage, especially over darker colors.
- Several coats increase the paint job’s durability and longevity.
Thin coats help prevent streaks, drips, and uneven coverage.
They also dry faster and allow better adhesion to the surface.
Guidance on Waiting for Each Coat to Dry
- Check the paint can for recommended drying times between coats.
- Typically, wait two to four hours between coats.
- Confirm that the previous coat has completely dried before continuing.
Each coat needs sufficient drying time before you apply the next one.
Rushing the process can cause tackiness, smudging, or lifted paint.
Patience helps produce a smooth, even, and long-lasting paint job.
See Related Content: Essential Tools for Pest Control Workers
Checking Painted Surface Consistency
After painting with a roller, inspect the surface for missed spots or uneven coverage.
First, step back and examine the entire painted area carefully.
Then, look for lighter areas, darker areas, roller marks, or streaks.
Inspecting the Painted Surface
Check the edges and corners to confirm that you covered them properly.
Meanwhile, compare each section to identify differences in paint coverage.
Careful inspection helps you find imperfections before the paint dries completely.
- Step back and examine the entire painted area.
- Look for spots that appear lighter or darker than the surrounding surface.
- Check for visible roller marks or streaks that indicate uneven coverage.
- Examine the edges and corners for complete paint coverage.
Fixing Paint Coverage Imperfections
If you find imperfections, correct them before the paint dries completely.
For missed spots, apply additional paint with the roller.
Additionally, use a smaller brush to cover edges and corners accurately.
- Apply more paint to any missed spots using the roller.
- Lightly pass a dry roller over marks or streaks to blend the paint.
- Use a smaller brush to cover difficult edges and corners.
By checking consistency and correcting imperfections, you can create an even, professional-looking paint finish.
Roller Cleaning and Storage
Proper cleaning removes excess paint from the roller.
Thorough rinsing prepares the roller for storage.
Dry storage helps protect the roller between uses.
- Remove excess paint by rolling the roller on a surface until it runs clear.
- Use warm, soapy water to clean the roller and remove leftover paint.
- Rinse the roller until the water runs clear and all paint disappears.
- Hang the roller to dry completely before storing it for future use.
- Clean all other painting tools with warm, soapy water.
- Store the roller in a dry place to prevent mold or mildew.
- Keep the roller in its original packaging or wrap it in plastic.
Mastering Even Roller Coverage
Understanding roller painting techniques helps you achieve a professional-looking finish.
By applying these tips, you can improve your painting projects and create smooth, uniform surfaces.
First, invest in high-quality materials for better painting results.
Next, prepare the surface properly before applying paint.
Then, use the correct roller technique and work in manageable sections.
Practice also helps you experiment with techniques and refine your skills.
With the right approach, anyone can master roller painting and create beautifully painted surfaces.
Additional Resources
Google search results for How to Paint with a Roller for Even Coverage Construction and Manual Labor
Bing search results for How to Paint with a Roller for Even Coverage Construction and Manual Labor


