




Drywall installation involves gypsum wallboard panels.
The process creates walls and ceilings in a building.
It forms surfaces that later receive finishing.
Importance of Smooth Finishing in Drywall Installation
Smooth finishing enhances the space’s overall aesthetic appeal.
It provides a clean and polished appearance.
It also creates a uniform surface for painting and wallpapering.
Consequently, paint and wallpaper look more visually pleasing.
A smooth finish helps installers achieve professional results.
Imperfections and rough patches become immediately noticeable.
Smooth finishing helps seal drywall properly.
This protection minimizes the risk of moisture damage.
It also increases the longevity of walls and ceilings.
Additionally, smooth finishing supports the drywall’s insulation properties.
It helps maintain a comfortable indoor temperature.
Furthermore, it prevents air leaks and drafts.
Finally, smooth finishing reduces extensive sanding.
It also limits dust during installation.
Therefore, the work becomes cleaner and more efficient.
Achieving a smooth finish supports more than visual appeal.
It also strengthens the functionality and durability of walls and ceilings.
With careful techniques and attention to detail, installers can create a flawless finish.
The result is a beautiful and long-lasting space.
Preparing the Surface
- First, clean the walls thoroughly to remove dust and dirt that could interfere with drywall adhesion.
- Next, remove debris, including nails, screws, and old wallpaper, from the walls.
- Then, repair cracks and imperfections with joint compound and a putty knife.
- Finally, sand rough spots to create a smooth surface for the drywall.
Measuring and Cutting the Drywall
- Measure each wall’s length and width to determine the required panel sizes.
- Mark those measurements on the drywall with a pencil and straight edge.
- Cut the panels with a utility knife and T-square to achieve straight cuts.
- Create openings for outlets, switches, and other obstacles with a keyhole saw or drywall saw.
Installing the Drywall
- Apply construction adhesive generously to each panel’s back before placing it on the wall.
- Secure the panels with drywall screws or nails spaced evenly along the edges and center.
- Check that every panel remains level and flush with adjacent panels.
- Cover the seams with fiberglass mesh tape or paper tape to help prevent cracks.
Finishing the Drywall
- Spread a thin layer of joint compound over the taped seams with a drywall knife.
- Feather the compound’s edges to create a smooth transition across the wall.
- After the compound dries, sand away excess material for an even surface.
- Apply second and third layers, feather each layer outward, and sand between applications.
These steps help you achieve a smooth and professional drywall finish.
Take your time and pay attention to detail for the best results.
Use the Right Tools
- Invest in quality tools like taping knives, mud pans, and sanders.
- Ensure your tools remain clean and in good condition.
Quality tools make drywall work easier and help produce a smoother finish.
Taping knives apply joint compound smoothly and evenly across different areas.
Choose several knife sizes to handle each area with greater precision.
Clean taping knives after every use to prevent dried compound from affecting future applications.
Mud pans hold joint compound while you work.
Select a sturdy mud pan with a comfortable grip for easier handling.
Also, clean the pan thoroughly to keep dried compound away from fresh mud.
Sanders smooth rough spots and help create a seamless surface.
Use a pole sander to reach high areas without stretching or straining.
Replace sandpaper regularly because worn paper can create scratches on drywall.
Sharp utility knives also help you cut drywall sheets accurately.
Dull blades can tear the paper surface and create jagged edges.
Replace each blade when it becomes dull to maintain clean, precise cuts.
Before working, inspect every tool for wear or damage.
Check for problems such as bent edges or cracks.
Damaged tools can make the work harder and reduce the quality of the results.
Transform Your Career Today
Unlock a personalized career strategy that drives real results. Get tailored advice and a roadmap designed just for you.
Start NowTherefore, maintain your tools carefully to support a smooth, professional-looking drywall finish.
See Related Content: Importance of Collaboration in Construction Projects
Mixing and Applying Joint Compound
Read the manufacturer’s instructions before mixing joint compound.
Different brands may require different mixing ratios and water amounts.
Therefore, follow those directions to achieve a workable consistency.
Apply a thin, even layer across the joint.
Start at the joint’s center and use long, smooth strokes.
Keep the compound uniform without creating excessive buildup.
Smoothing and Feathering the Compound
Next, run the taping knife lightly across the wet compound.
Hold the knife at a slight angle for controlled, even pressure.
Feather the outer edges outward to blend the repair into the wall.
Drying and Sanding the Surface
Allow each coat to dry completely before sanding or adding another coat.
Drying time varies with the compound type and layer thickness.
For reliable results, use the manufacturer’s recommended drying times.
Additional Coats and Final Preparation
Apply additional coats when the finish requires more coverage.
Let every coat dry before sanding and continuing.
After final sanding, wipe away dust before painting or finishing.
Explore Further: Top Tools and Equipment Used by Professional Surveyors
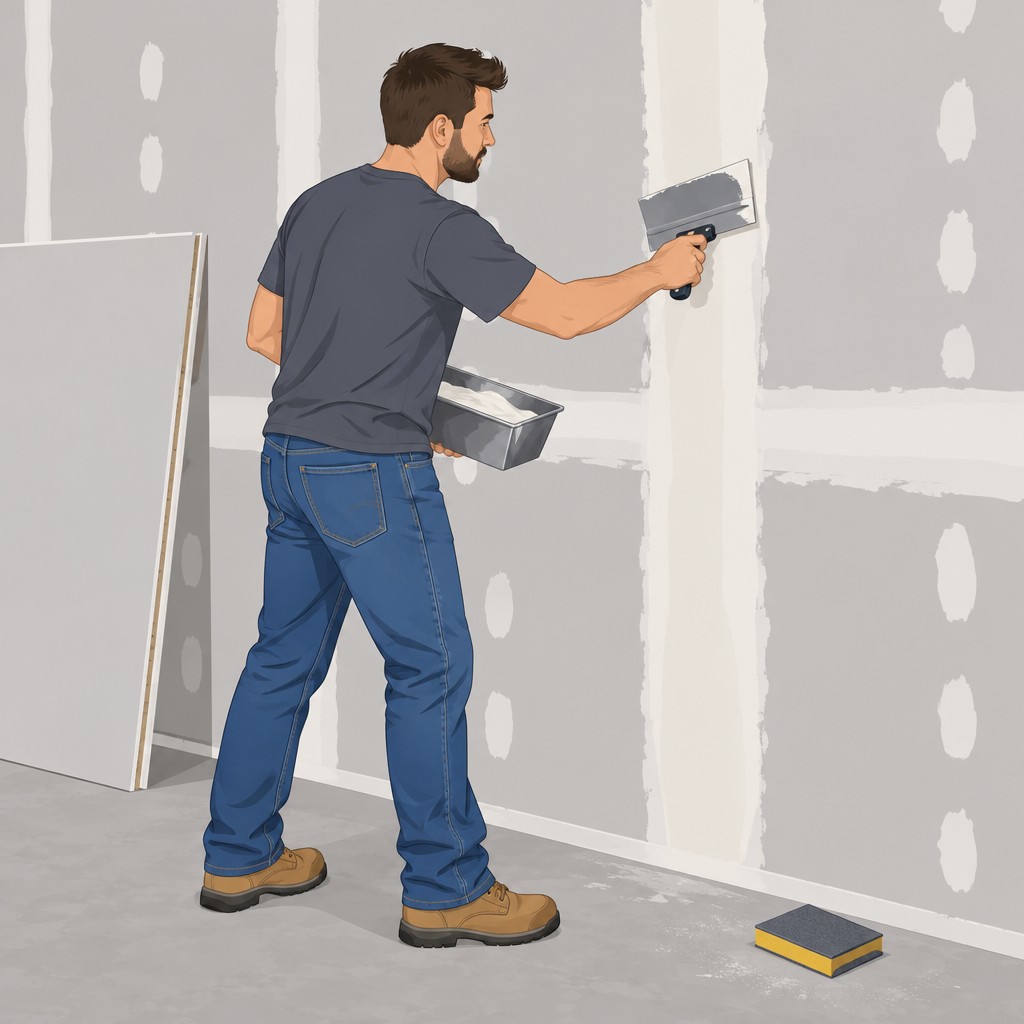
Taping and Mudding Drywall Seams
Taping and mudding require controlled steps to cover drywall joints effectively.
Careful application keeps the tape flat and supports an even surface.
Several thin layers usually produce better results than one thick application.
Applying Drywall Tape
First, inspect the seam edges and remove debris that could weaken tape adhesion.
Next, cut the tape long enough to cover the entire joint.
Press the tape firmly onto the seam, keeping it flat and wrinkle-free.
Covering Tape with Joint Compound
Apply a thin layer of joint compound over the installed tape.
Use a drywall knife to press compound into gaps beneath the tape.
Work carefully so the compound covers the tape without creating excessive buildup.
Feathering Compound Edges
Spread the compound outward from the seam to soften its edges.
This technique blends the covered joint into the surrounding drywall.
Keep each transition gradual so the seam does not appear raised.
Sanding and Adding Further Coats
Allow the joint compound to dry completely before sanding the surface.
Use a sanding block or sandpaper to smooth rough or uneven areas.
Sand gently to avoid removing too much compound from the seam.
Apply additional thin coats when the seam still needs more coverage.
Let each coat dry before applying another layer.
Feather every new layer so it blends smoothly with the drywall.
Completing the Final Sanding
After the final coat dries, sand the entire area once more.
Use fine-grit sandpaper to create a smooth and uniform surface.
Inspect the seam closely and smooth any remaining imperfections.
Explore Further: Effective Problem-Solving in Construction Projects
Transform Your Career Today
Unlock a personalized career strategy that drives real results. Get tailored advice and a roadmap designed just for you.
Start NowSanding Tips for a Smooth Finish
Sanding is a crucial step in drywall installation.
It helps create a flawless finish.
These tips support a smooth result.
Allow the Joint Compound to Dry Completely
Before sanding, make sure the joint compound has fully dried.
Complete drying protects the work from damage.
Sanding too early can create a messy finish.
Select a Sanding Block or Sandpaper
When sanding begins, choose the right tool for the job.
A sanding block smooths bumps and ridges on the drywall surface.
Sandpaper also helps create an even surface.
Following these sanding tips can produce a smooth finish.
The finished surface can impress anyone who enters the room.
Happy sanding!
Delve into the Subject: How to Make a Good First Impression as a New Mover
Priming and Painting Drywall
Drywall finishing requires primer and paint to create a smooth, polished appearance.
First, primer seals the surface and prepares it for paint.
Then, paint adds the desired color and completes the finished look.
Applying Primer to Seal the Surface
Apply a coat of primer before painting the drywall.
Before painting, choose a high-quality primer suitable for drywall surfaces.
This coating creates a smooth base that helps paint adhere evenly.
Additionally, primer reduces uneven absorption across the drywall surface.
Use a roller or brush to spread primer evenly across the entire surface.
Allow the primer to dry completely before continuing.
Painting the Walls for a Finished Look
After the primer dries, paint the walls with your desired color.
Choose high-quality paint specifically designed for drywall surfaces.
First, cut in the edges and corners with a brush.
Next, use a roller to apply an even coat across the remaining surface.
Work in small sections to reduce visible brush or roller marks.
Allow the first coat to dry completely before applying a second coat, if needed.
Finally, inspect the dry paint to confirm an even color across the surface.
Achieving a Lasting Drywall Finish
A smooth finish gives drywall a professional appearance.
Therefore, pay close attention to every finishing detail.
Take your time and complete each step thoroughly rather than rushing.
Use proper tools, techniques, and materials to create a durable, smooth surface.
Also, invest in quality products and equipment for dependable results.
Practice improves your technique, so do not feel discouraged by an imperfect first attempt.
With patience and persistence, you can master drywall finishing.
This approach helps you achieve professional results consistently.
Thank you for reading, and happy drywalling!
Additional Resources
Transform Your Career Today
Unlock a personalized career strategy that drives real results. Get tailored advice and a roadmap designed just for you.
Start Now


