




Introduction
In this blog post, we will explore common drywall installation mistakes to avoid.
Proper drywall installation is crucial for the quality of a project.
We will discuss key points to ensure a successful drywall installation process.
Importance of Precise Drywall Measurements
Precise measurements give each drywall piece a proper fit.
They also prevent gaps and uneven edges across the walls.
Accurate pieces create a seamless surface after painting or finishing.
Effects of Inaccurate Measurements
Pieces cut too small waste drywall sheets and may require additional purchases.
Incorrect measurements create gaps between sheets and produce uneven walls.
Moreover, inaccurate cuts require extra time and effort, delaying the project.
Accurate Measuring and Cutting Practices
Careful preparation helps installers create clean, consistent drywall pieces.
Reliable tools also make marking and cutting more precise.
Finally, accurate work saves materials, time, and money throughout the project.
- Use a tape measure to determine each drywall piece’s required dimensions.
- Mark every measurement on the drywall sheet before cutting.
- Double-check each measurement to prevent costly mistakes.
- Use a T-square or straightedge to guide precise cuts.
- Cut slowly and steadily along each marked line.
Proper measurements support a professional finish and help avoid uneven walls.
Proper screw placement helps secure drywall firmly.
However, placing screws too close to an edge can weaken the drywall.
Meanwhile, widely spaced screws may allow the drywall to sag over time.
Therefore, place screws every 12 inches along the studs.
Also, leave a small gap between drywall sheets.
Avoid sinking the screws too deeply into the drywall.
These practices create a strong, secure wall that can withstand long-term use.
See Related Content: Essential Skills for Aspiring Landscape Architects
Seam Taping and Joint Compound
Seam taping and joint compound create a smooth, uniform drywall surface.
Seam tape covers joints between panels and helps prevent cracks or gaps from forming over time.
Joint compound smooths seams and screws while creating a consistent wall texture.
Common Errors During Application
Inadequate taping can leave visible gaps or cracks along drywall joints.
Applying excessive joint compound can create a bumpy or uneven surface.
Therefore, apply both materials carefully to support a smooth, professional finish.
- Apply enough seam tape to cover each joint completely.
- Limit the joint compound to prevent bumps and uneven areas.
Proper Application of Seam Tape and Joint Compound
Correct application helps create a seamless and consistent wall surface.
First, prepare each material before covering the drywall joints and screws.
Then, smooth every layer and allow sufficient drying time between applications.
Seam Tape Application
Begin by measuring and cutting the seam tape for the entire joint.
Next, press the tape firmly into the compound and remove wrinkles or bubbles.
Finally, cover the tape with compound and feather the edges smoothly.
- Cut the seam tape to cover the entire length of the joint.
- Apply a thin layer of joint compound over the seam using a putty knife.
- Place the seam tape over the joint and press it firmly into the compound.
- Smooth the tape to remove wrinkles and bubbles.
- Apply another compound layer over the tape and feather the edges.
Joint Compound Application
Mix the joint compound until it reaches a smooth consistency without lumps or air bubbles.
Apply thin, even layers over seams and screws using a taping knife.
After the compound dries, sand it lightly and add another coat when necessary.
- Mix the joint compound until it becomes smooth and lump-free.
- Apply a thin layer over the seams and screws with a taping knife.
- Smooth excess compound with a drywall knife.
- Feather the edges to blend them with the surrounding wall.
- Let the compound dry completely before sanding and applying another coat.
Careful seam taping prevents visible gaps and supports a uniform drywall surface.
Meanwhile, controlled compound application reduces bumps and simplifies sanding.
Use these techniques to achieve a smooth finish during drywall installation.
See Related Content: Warehouse Safety Tips: Ensuring a Safe Work Environment
Transform Your Career Today
Unlock a personalized career strategy that drives real results. Get tailored advice and a roadmap designed just for you.
Start Now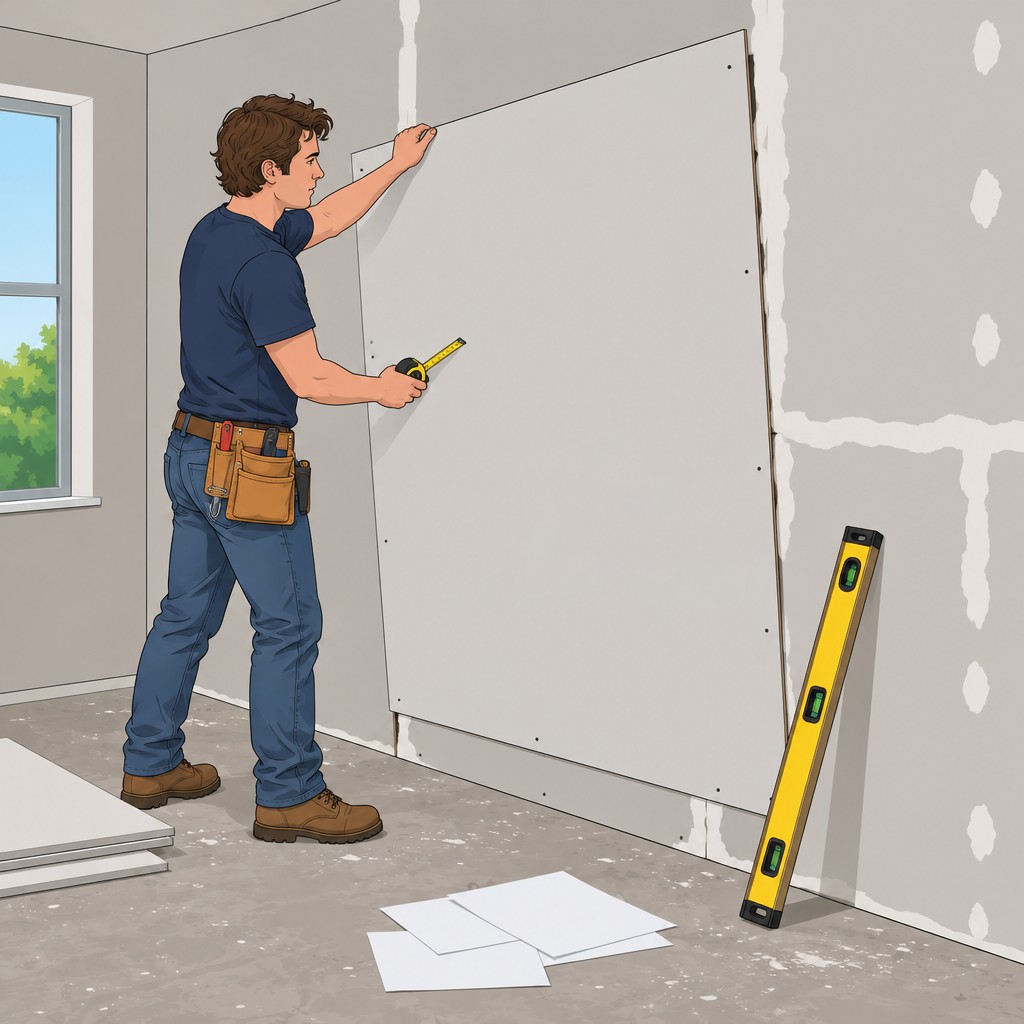
Importance of Sanding and Smoothing Drywall
Proper sanding and smoothing remove surface imperfections before painting.
These steps help create a more even drywall finish.
Therefore, careful preparation supports a cleaner painted surface.
Risks of Leaving Rough Spots or Uneven Surfaces
Rough spots can remain visible after paint covers the drywall.
Uneven surfaces may create a poor-looking finish.
Natural or artificial lighting can make these imperfections easier to notice.
Suggestions for Proper Sanding Techniques
Use controlled pressure to avoid creating new uneven areas.
Then inspect the surface from multiple angles before painting.
Finally, wipe away sanding dust before painting.
- Start with coarse-grit sandpaper to smooth high spots and bumps.
- Follow with finer-grit sandpaper to remove remaining imperfections.
- Use a sanding block or pole sander for even pressure.
- Wipe the surface with a damp cloth after sanding.
- Check the surface under different lighting conditions before painting.
Gain More Insights: How to Transition from Assembler to Supervisor
Why Drying Time Matters
Allow drywall mud and joint compound to dry completely before painting or finishing the surface.
Rushing this process can create visible cracks and bumps across the finished drywall.
Additionally, trapped moisture can cause poor adhesion, peeling, flaking, mold, and mildew.
- Painting wet compound can leave visible cracks and bumps on the finished surface.
- Wet compound beneath paint may prevent proper adhesion and cause peeling or flaking.
- Moisture trapped between drywall and paint can encourage mold and mildew growth.
Ways to Support Faster Drying
Although adequate drying time remains essential, several methods can support faster drying.
First, circulate air with fans placed near the drying drywall.
Also, control humidity and temperature without overheating the room or applying excessively thick compound layers.
- Use fans to circulate air and help moisture evaporate more quickly.
- Run a dehumidifier in damp conditions to remove excess moisture from the air.
- Use moderate heat to raise the room temperature and accelerate drying.
- Apply multiple thin layers because thicker compound takes longer to dry.
Gain More Insights: Common Challenges Faced by Movers and How to Overcome Them
Priming drywall before painting supports a smoother and longer-lasting wall finish.
This step improves paint adhesion and helps protect the surface from common damage.
Therefore, select and apply the primer carefully before adding paint.
Benefits of Priming Drywall Before Painting
Primer creates a suitable surface for paint and helps the coating adhere securely.
Additionally, primed drywall receives paint more evenly across the prepared surface.
As a result, priming supports durability, consistent coverage, and a professional appearance.
- Primer improves adhesion and helps create a durable finish that resists peeling and chipping.
- Primed walls receive better protection against moisture, stains, and other environmental factors.
- Primer creates a consistent surface, allowing paint to spread smoothly and evenly.
Common Mistakes When Priming Drywall
Several mistakes can reduce primer performance and weaken the finished paint job.
For example, skipping primer may cause poor adhesion and shorten the paint’s lifespan.
Likewise, incorrect product selection or uneven application can create coverage problems.
- Skipping primer can reduce adhesion and shorten the life of the paint job.
- Using the wrong primer may cause adhesion issues, poor coverage, and weak durability.
- Applying primer too thinly can leave the drywall poorly covered.
- Applying primer too thickly can cause drips and uneven drying.
Choosing and Applying the Right Primer
Choose a primer that suits the drywall surface and the paint you plan to use.
Before application, remove contaminants and smooth any rough areas on the drywall.
Then apply the primer evenly and allow adequate drying time before painting.
- Consider oil-based, latex-based, and shellac-based primers for different project requirements.
- Clean the drywall and remove dust, grease, and other contaminants before priming.
- Sand rough spots and imperfections to create a smoother surface for primer.
- Use a quality brush or roller to apply primer with long, even strokes.
- Work in small sections and blend the edges to prevent visible lines.
- Follow the manufacturer’s instructions for drying time between coats and before painting.
Priming drywall before painting helps create a durable and professional-looking finish.
Careful product selection and application also support better paint adhesion over time.
Achieving a Professional Drywall Finish
A professional drywall finish depends on consistent attention to detail throughout the installation process.
Use appropriate tools and techniques to support accurate, smooth, and durable results.
Additionally, review each installation step before moving forward with the project.
Avoid measurement errors, inadequate screw spacing, and uneven joint compound application.
These precautions help create a smooth, seamless surface on walls or ceilings.
Therefore, use the provided guidance to reduce installation mistakes and improve the finished appearance.
Additional Resources
Bing search results for Common Drywall Installation Mistakes to Avoid Construction and Manual Labor


