




Efficiently Painting a Room in One Day
Are you ready to give your room a fresh coat of paint without spending much time?
This post explains how to paint a room efficiently in just one day.
These time-saving tips help you enjoy a newly painted room without spending several days on the project.
Clearing the Room
- Remove all furniture and other obstacles from the room.
- Cover floors and remaining items with drop cloths or plastic sheets.
- Open windows or use a fan to ensure proper ventilation.
First, clear furniture and other items that could obstruct your work.
This approach creates more room for movement during painting.
It also protects your belongings from accidental spills and paint splatters.
Next, cover the floors and remaining items with drop cloths or plastic sheets.
Finally, open windows or use a fan to maintain fresh airflow.
Preparing the Walls
- Inspect the walls for holes, cracks, and other imperfections.
- Fill holes and cracks with spackling compound.
- Sand repaired areas until they look smooth and flush with the wall.
Before painting, inspect every wall for holes, cracks, and other visible imperfections.
Then, apply spackling compound wherever the surface needs repair.
Allow the compound to settle before sanding each repaired area.
Sand until the surface feels smooth and sits flush with the surrounding wall.
This preparation helps create a seamless finish when you apply the paint.
Gathering Painting Supplies
- Paint rollers and brushes.
- Painter’s tape.
- Paint tray.
- Paint in your desired color.
- Extension pole for hard-to-reach areas.
Gather every necessary supply before you begin painting.
Keep rollers, brushes, painter’s tape, and a paint tray nearby.
Choose the paint color before you start working.
Additionally, prepare an extension pole for high ceilings or difficult areas.
This tool can help you reach walls behind furniture.
Applying the Paint
- Cut in the edges with a brush.
- Use a roller to cover larger wall areas.
- Work in sections for even coverage.
- Apply a second coat when necessary for a more opaque finish.
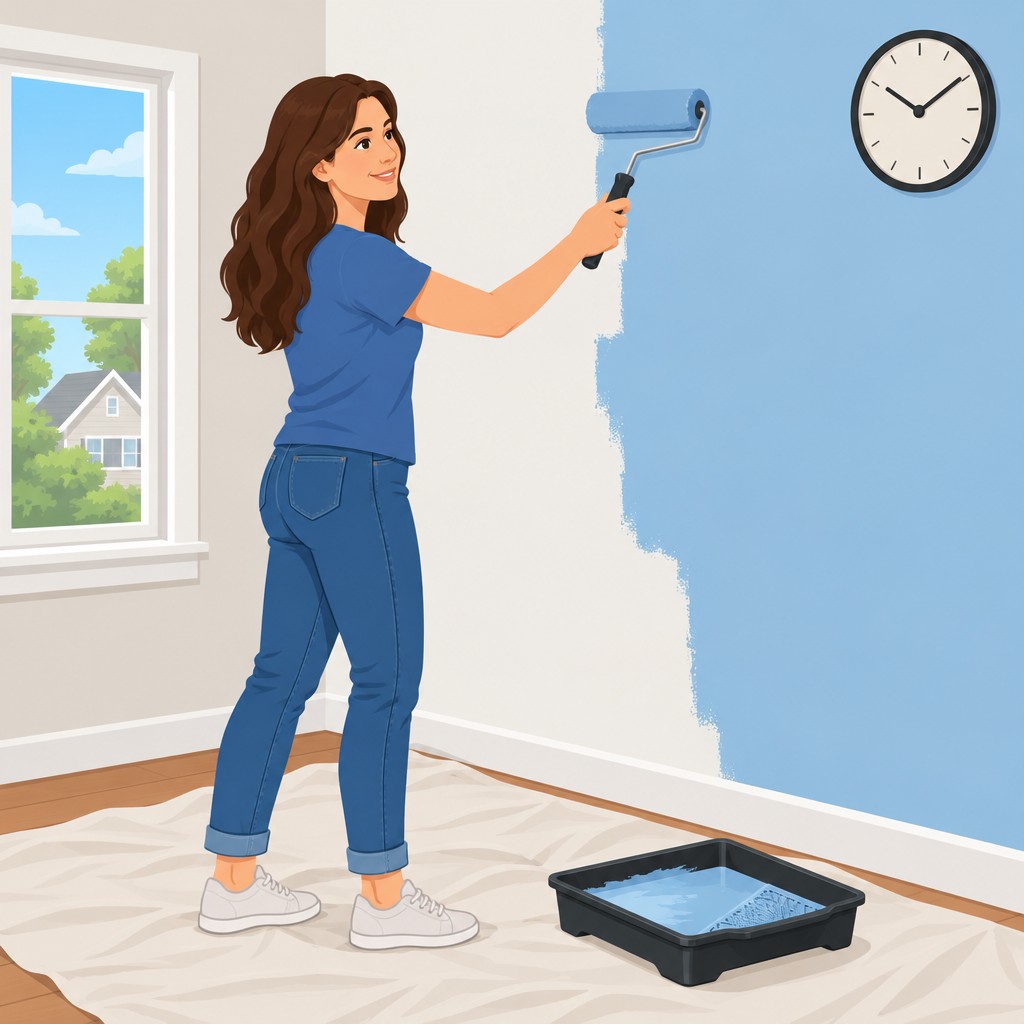
Once the room and supplies are ready, begin applying the paint.
First, use a brush to cut in along corners and wall edges.
These careful strokes create cleaner lines around the painted areas.
Next, use a roller to cover the larger wall sections.
Work methodically in sections to maintain even coverage.
If necessary, add a second coat for a more opaque finish.
Cleaning Up After Painting
- Remove painter’s tape before the paint fully dries.
- Clean brushes and rollers with warm, soapy water.
- Dispose of used drop cloths and plastic sheets.
After painting, clean the room and maintain your tools properly.
Remove painter’s tape before the paint fully dries.
This timing helps prevent peeling or damage along the wall edges.
Next, wash brushes and rollers with warm, soapy water.
Finally, dispose of the drop cloths or plastic sheets used for protection.
Gather Supplies
Preparation helps you paint a room smoothly within one day.
First, gather every necessary supply before starting the project.
Then, keep each item accessible to prevent unnecessary interruptions.
- Paint
- Rollers and brushes
- Painter’s tape
- A sturdy ladder
- Paint and primer in one
Paint Selection
Choose the desired paint color and finish before starting.
Also, purchase more paint than expected to avoid interruptions.
Extra paint prevents you from running out during the project.
Rollers and Brushes
Use rollers and brushes to apply paint across the room.
Keep several sizes available for different areas and surfaces.
Additionally, an extension pole helps you reach high ceilings.
Painter’s Tape
Apply painter’s tape to create clean, professional-looking lines.
Use it to protect trim, baseboards, and ceilings from splatters.
Transform Your Career Today
Unlock a personalized career strategy that drives real results. Get tailored advice and a roadmap designed just for you.
Start NowQuality tape supports crisp edges throughout the painting process.
Sturdy Ladder
A sturdy ladder helps you reach high areas safely.
Use it near ceilings, corners, windows, and door frames.
Before climbing, confirm that the ladder stands securely.
Paint and Primer in One
Consider paint and primer in one to shorten the process.
This product removes the need for a separate primer coat.
Finally, select a high-quality product for the best results.
Delve into the Subject: Boilermaker Resume Tips: Stand Out to Employers
When painting a room in one day, preparation remains essential.
Follow these steps to create a smooth and efficient process.
Prepare the Walls
- Fill holes or cracks with spackling compound, then sand them smooth.
- Clean the walls with a damp cloth to remove dust and dirt.
- Use painter’s tape to mask edges and trim for a clean finish.
These preparation steps support a smooth process and a flawless paint job.
Explore Further: Top Skills Every Successful Fisherman Needs
Start with the Ceiling
- Begin by painting the ceiling to prevent drips from reaching the walls.
- Use a roller with an extension pole for easier reach.
- Apply two coats if necessary, allowing sufficient drying time between them.
When painting a room in one day, start with the ceiling.
This approach prevents drips from falling onto freshly painted walls.
Additionally, use a roller with an extension pole to reach difficult areas more easily.
The pole supports smooth, even application while reducing physical strain.
Depending on the ceiling’s color and condition, you may need two coats for complete coverage.
Allow each coat to dry thoroughly before applying another to prevent an uneven finish.
Discover More: Common Groundskeeping Challenges and Solutions
Paint the Walls
Begin at the top and paint the walls in small sections.
This approach keeps the application controlled and helps create even coverage.
Work steadily so each section blends smoothly with the next one.
- Use a roller for larger areas and a brush for corners and edges.
- Maintain a steady pace to avoid drying lines and streaks.
- Keep your tools ready so you can continue without unnecessary pauses.
After covering the main wall areas, review the surface for missed spots.
Use the remaining paint to even out areas that appear thin.
Meanwhile, keep the roller and brush movements consistent across the room.
Choosing Paint for a One-Day Project
Select paint that supports a quick and organized application.
Paint and primer in one can reduce the number of coats required.
Fast-drying paint can help you complete the work within one day.
- Choose paint and primer in one to save time.
- Select fast-drying paint when the schedule requires quick progress.
- Match the finish to the room’s durability, sheen, and cleaning needs.
Consider how the finished surface should look and perform before choosing the paint.
A suitable finish can support easier cleaning and better durability.
Once you choose the paint, apply it with a consistent technique.
Precise Paint Application Techniques
Cut in around edges, corners, and trim before rolling the larger wall areas.
Then use a W pattern to distribute paint evenly across each section.
Remove excess paint from the roller to prevent drips and uneven coverage.
- Cut in before rolling to create clean edges.
- Roll in a W pattern for even coverage.
- Avoid overloading the roller to reduce drips and uneven application.
Keep your movements controlled while maintaining a steady working rhythm.
Stay organized and take short breaks when needed to remain focused.
These methods help you complete the painting process efficiently and neatly.
Delve into the Subject: Balancing Work and Life as a Lumberjack
Final Painting Steps
After painting a room in one day, it is time for the finishing touches.
These final steps complete the project.
Transform Your Career Today
Unlock a personalized career strategy that drives real results. Get tailored advice and a roadmap designed just for you.
Start NowCareful finishing work helps prevent last-minute mishaps.
Removing Painter’s Tape
Remove the painter’s tape before the paint dries completely.
Peel the tape away at a 45-degree angle to protect the painted edge.
Also, removing tape too late can cause chipping or uneven lines.
- Peel off the painter’s tape at a 45-degree angle to avoid pulling off dried paint.
- Do not wait for the paint to dry completely, because it can cause chipping or uneven lines.
Touching Up Missed Spots
Next, inspect the walls for missed spots or imperfections.
Use a small brush or roller to correct uneven paint coverage.
Check the walls in different lighting to find areas needing attention.
- Use a small brush or roller to fix uneven coverage or missed spots.
- Inspect the walls carefully in different lighting to catch imperfections.
Cleaning Painting Tools
Finally, clean the brushes and rollers immediately after painting.
Prompt cleaning prevents dried paint from building up on the tools.
Remove excess paint before washing each brush or roller.
- Use warm, soapy water for latex paint and mineral spirits for oil-based paint.
- Remove excess paint with a rag or paper towel before washing the tools.
These final steps help you complete the painting project with a professional finish.
Reassembling the Painted Room
Let the paint dry completely before moving furniture back into the room.
This prevents smudges and damage to the freshly painted walls.
Next, carefully remove the drop cloths and plastic sheets protecting the floors and furniture.
Fold and store these coverings properly for future use.
After removing every protective covering, pause to admire your completed work.
Enjoy the freshly painted room after completing the project in one day.
Then, return everything to its proper place as the room takes on a renewed appearance.
Take time to relax and appreciate the refreshed space.
Whether you chose a new color or refreshed the existing paint, the room can feel brand new.
Careful planning, organization, and focus can produce a professional-looking result within one day.
Therefore, you can approach a fresh coat of paint with confidence.
Efficient work lets you complete the project without spreading it across multiple days.
Efficient Room Makeover Results
Recap: We discussed several time-saving tips for painting a room in one day.
These tips include preparing the room, choosing suitable tools, and working efficiently.
Importance: Planning and preparation remain crucial for a successful, efficient room makeover.
Proper setup saves time throughout the painting process.
Encouragement: Try these tips to transform your room quickly and effectively.
With the right approach, you can achieve a beautiful new look in little time.


