Introduction
Ombre walls are a popular trend in interior design.
Colors gradually fade into each other on these walls.
This technique adds depth and dimension to a room.
It creates a visually stunning effect for any space.
Choosing Complementary Paint Colors
Select two to three paint colors that blend well together.
Consider the overall color scheme of the room before deciding.
Preparing the Wall for Painting
Clean the wall surface thoroughly.
Apply a coat of primer to ensure better paint adhesion.
This preparation guarantees a smoother finish.
Dividing the Wall into Color Sections
Use measuring tape and pencil to mark sections on the wall.
Divide the wall based on the number of colors chosen.
Mixing Paint Colors for Gradient Effect
Pour each paint color into separate containers.
Mix the paints well and adjust intensity as needed.
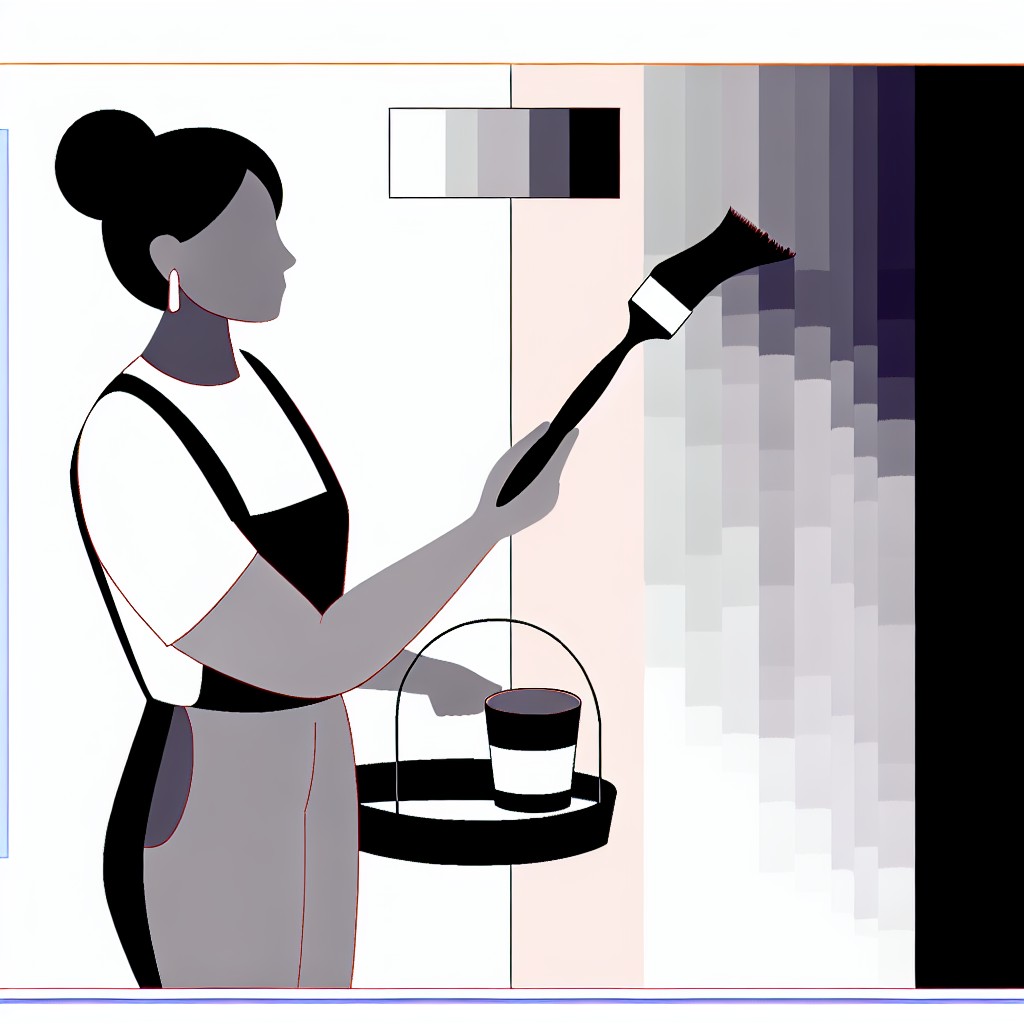
Applying Paint to the Wall
Start painting with the lightest color at the top.
Use a roller or brush to cover each section.
Blend the colors where the sections meet carefully.
Blending Colors for Seamless Transition
Use a dry brush to seamlessly blend the adjacent colors.
Repeat this blending process for each section of the wall.
Final Touches and Wall Protection
Once dry, touch up areas that need additional paint.
Apply a clear coat sealer to protect the ombre wall.
Transform Your Career Today
Unlock a personalized career strategy that drives real results. Get tailored advice and a roadmap designed just for you.
Start NowThis adds a polished and finished appearance to your space.
Enjoy your transformed room with stunning ombre walls.
Choose Your Colors:
- Selecting the paint colors for your ombre walls is crucial.
- Consider the color scheme of the room and choose shades that complement each other.
- Decide on how many shades you want to incorporate into the ombre effect.
When it comes to creating ombre walls, choosing the right colors is the first step in achieving a stunning gradient effect.
Whether you want a subtle transition or a bold statement, the colors you choose will set the tone for the entire room.
Here are some tips on how to select the perfect shades for your ombre walls:
Consider the Room’s Color Scheme:
Before selecting your paint colors, take a look at the existing color scheme of the room.
Choose shades that harmonize with the furniture, decor, and overall ambiance of the space.
If your room features neutral tones, you may want to opt for a soft, monochromatic ombre effect.
For a more vibrant look, consider using bold, contrasting colors that will make a statement.
Choose Complementary Shades:
When selecting colors for your ombre walls, it’s important to choose shades that work well together.
Look for colors that are from the same color family or that have similar undertones.
This will ensure a smooth transition between each shade and create a cohesive look for your ombre walls.
Mixing warm and cool tones can also add depth and dimension to the gradient effect.
Determine the Number of Shades:
Decide how many shades you want to incorporate into your ombre walls.
You can choose a subtle ombre effect with just two or three shades, or create a more dramatic look with five or more shades.
Keep in mind that the number of shades will affect the overall intensity of the ombre effect.
Experiment with different combinations to find the perfect balance for your space.
By carefully selecting complementary colors and deciding on the number of shades to use, you can create ombre walls that transform your space and add a touch of visual interest.
Once you have chosen your colors, you can move on to the next steps in the ombre wall painting process.
Prepare the Wall
- Clean the wall surface thoroughly to ensure proper adhesion of the paint.
- Fill in any holes or imperfections with spackling paste, then sand the wall smooth.
- Use painter’s tape to protect baseboards, ceiling, and trim from paint splatter.
Before you start the process of creating ombre walls, it is essential to prepare the wall properly.
Transform Your Career Today
Unlock a personalized career strategy that drives real results. Get tailored advice and a roadmap designed just for you.
Start NowThe preparation stage is crucial as it will ensure a smooth and flawless finish for your ombre wall painting project.
Begin by cleaning the wall surface thoroughly using a mild detergent and water solution.
This step removes any dirt, dust, or grease that may prevent the paint from adhering properly to the wall.
Use a clean cloth or sponge to scrub the walls and allow them to dry completely before proceeding to the next step.
Inspect the wall for any holes, cracks, or imperfections.
Use spackling paste to fill in these areas and create a smooth surface for painting.
Once the spackling paste has dried, sand the wall using fine-grit sandpaper.
This ensures a flat and even surface.
Wipe away any dust with a damp cloth before moving on to the next step.
To prevent paint splatter on the baseboards, ceiling, and trim, apply painter’s tape along the edges of these areas.
Make sure to press the tape firmly to create a tight seal and avoid any paint bleed-through.
This will help you achieve clean and crisp lines when painting the ombre effect on your walls.
By following these preparatory steps, you will create a solid foundation for your ombre wall painting project.
Proper preparation will ensure a professional-looking finish and help you achieve the desired ombre effect seamlessly.
Discover More: Landscape Architect’s Guide to Native Plant Landscaping
Mix Paint Shades
- Create your desired shades by mixing the base paint color with varying amounts of white paint.
- Test the color gradient on a spare piece of cardboard to ensure that the transition between shades is smooth.
- Adjust the paint colors as needed to achieve the perfect ombre effect.
Mixing paint shades is a crucial step in creating ombre walls.
To start, choose a base paint color that you love and want to use for your ombre design.
Once you have your base color, it’s time to create the different shades that will blend seamlessly into each other.
Begin by pouring some of your base paint color into a clean container.
Then, gradually add white paint to the base color in small increments.
Transform Your Career Today
Unlock a personalized career strategy that drives real results. Get tailored advice and a roadmap designed just for you.
Start NowMix the two colors together thoroughly to achieve a lighter shade of the base color.
Keep adding white paint until you have created a range of shades that go from the darkest to the lightest.
Test Color Gradient
- Before applying the paint to your walls, it’s essential to test the color gradient on a spare piece of cardboard or a small section of wall.
- This test will allow you to see how the colors blend together and make any necessary adjustments to the shades.
- Ensure that the transition between each shade is smooth and seamless for a beautiful ombre effect.
To test the color gradient, paint a small section of the cardboard with each shade of paint, starting from the darkest at the top to the lightest at the bottom.
Use a paintbrush to blend the colors together, creating a smooth transition between each shade.
Step back and observe how the colors look together to ensure that they flow seamlessly into each other.
Adjust Paint Colors
- If the transition between shades is not smooth, adjust the paint colors by adding more base color or white paint to create a better blend.
- Continue to test the colors on the cardboard until you are satisfied with the ombre effect and ready to paint your walls.
- Make sure to keep track of the ratios of each shade you create so that you can replicate them on the walls.
When adjusting the paint colors, remember that it’s all about achieving a gradual transition between shades.
If you find that the colors are not blending well, experiment with adding more base color or more white paint to create a smoother gradient.
Take your time with this process and don’t rush it.
By following these steps and experimenting with different shades, you can create stunning ombre walls that will add a unique touch to any room in your home.
Remember to practice and test your colors before committing to painting the entire wall to ensure that you achieve the perfect ombre effect.
Explore Further: Boilermaker Certification Renewal: What You Need to Know
Now that you have prepped the wall you can start painting.
Gather all supplies before you begin.
Start Painting
- Begin by painting the wall with the lightest shade at the top.
- Work your way down the wall gradually transitioning to darker shades.
- Use a paint roller to blend the colors together creating a seamless ombre effect.
Starting at the top of the wall with the lightest shade is crucial.
This step ensures a smooth transition between colors.
The ombre effect will look natural and well blended.
As you work your way down be mindful of the gradual transition.
Take your time with each section for a seamless flow of colors.
A paint roller is the best tool for creating the ombre effect.
It helps blend the colors smoothly and eliminates harsh lines.
Transform Your Career Today
Unlock a personalized career strategy that drives real results. Get tailored advice and a roadmap designed just for you.
Start NowRemember to work in small sections and blend colors while wet.
This technique allows seamless color transition and prevents discrepancies.
Continue painting until the entire wall is covered with the ombre effect.
Step back periodically to assess and adjust the overall look as needed.
Once satisfied with the effect allow the paint to dry completely.
Do not add finishing touches or decorations until the paint is dry.
This ensures the colors set properly and maintain their seamless transition.
Congratulations! You have created stunning ombre walls using this guide.
Enjoy your new space and the beautiful eye-catching feature you added.
Gain More Insights: Interview Tips for Aspiring Assemblers
Blend the Colors
To create a smooth transition between colors, use a dry brush to blend the edges where the shades meet.
Softly feather the brush strokes between colors to create a gradient effect.
Step back periodically to ensure that the ombre effect is even and gradual.
- To create a smooth transition between colors, use a dry brush to blend the edges where the shades meet.
- Softly feather the brush strokes between colors to create a gradient effect.
- Step back periodically to ensure that the ombre effect is even and gradual.
You Might Also Like: Top Tools Every Landscape Architect Needs
Allow to Dry
- Let the paint dry completely before adding another coat or moving on to the next shade.
- Follow the recommended drying times on the paint cans to avoid smudging or streaking.
- Once the paint is dry, remove the painter’s tape carefully to reveal clean lines.
Steps to Create and Maintain Ombre Walls
Creating ombre walls is a fun and rewarding DIY project.
It can transform any room in your home.
To recap, here are the steps involved in the process.
- Prepare the walls by cleaning and priming them.
- Choose your paint colors and mix them for a seamless transition.
- Start painting from the top of the wall with the lightest color.
- Blend each color into the next using a damp sponge or brush.
- Continue painting until you achieve the desired ombre effect.
- Step back and admire your beautiful ombre walls!
Do not be afraid to get creative with your color choices.
Also, experiment with different painting techniques.
Ombre walls add a pop of color and interest to any space.
Transform Your Career Today
Unlock a personalized career strategy that drives real results. Get tailored advice and a roadmap designed just for you.
Start NowTo maintain your ombre walls and keep them looking fresh for years, consider these tips.
- Regularly clean your walls with a soft cloth or duster to prevent dust buildup.
- Avoid using harsh chemicals or abrasive cleaners that can damage the paint.
- If you notice any scuffs or marks, touch up the paint with the corresponding colors.
- Consider adding a clear coat or sealer to protect the paint from fading or chipping.
- Enjoy your beautiful ombre walls and the unique touch they bring to your home!
Additional Resources
Is it Better to Use a Brush and Roller or Paint Sprayer? — Olive …
Zefira – Automatic Motorized Retractable Roll-Up Shade Sail | Maanta